TVs are the next great frontier in native app development after desktop and mobile devices. The launch of Apple TV+ on-demand subscription service in 2019 and the release of the 5th generation of Apple TV in 2017 demonstrated the huge interest of big tech companies in the TV market. This means that the TV apps market is considered to increase as well in the following years.
Just a couple of years ago if a company wanted to develop an app for TVos, they had to look for Objective-C / Swift developers experienced in TV platform development.
But recently the game has changed with React Native gaining support for TVos. This made Apple TV development far more accessible for everyone who is familiar with JavaScript and React development.
Aside from dedicated TV apps, many businesses want to cover a wider audience of customers by releasing companion TV apps in addition to existing web and mobile products.
Unsplash and Photoframe are just 2 examples of TVos apps built with React Native.
So let’s dive into this interesting world of TV apps development and start building our little Apple TV app from scratch right now.
Step #1. Setting up the development environment
Obviously, we’ll need to have a Mac with the latest version of Xcode installed.

1.1. Let’s install the react-native CLI first:
npm install -g @react-native-community/cliWe’ll use this tool to create a new react-native-tvos project with TVapp name. To initiate project creation run this command in a terminal window
npx react-native init TVapp --template=react-native-tvos@latestNote: it is important to specify --template=react-native-tvos@latest in order to create Xcode project with properly configured Apple TV targets.
1.2. Now, let’s go to our TV app directory and run our project in the tvOS Simulator:
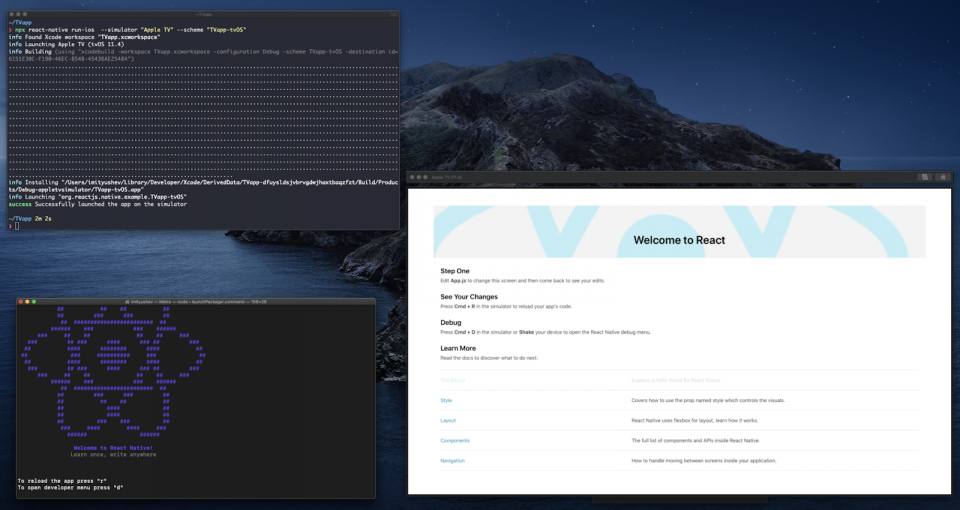
cd TVapp && npx react-native run-ios --simulator "Apple TV" --scheme "TVapp-tvOS"Note: at this point you should see Apple TV Simulator loading and project building progress in your Terminal window. Once the build process is finished, a new Terminal window will appear with the development server running and the “Welcome to React” page will appear on the Simulator screen.
1.3. How to interact with the TV app in a Simulator? Mouse clicks won’t work there. Here’s what you can do:
- Use keyboard arrow keys for navigation. Go ahead and try scrolling the table down with the arrow down key.
- Press the Return key in order to interact with selected elements. This is like a mouse click but for TV. Try opening the selected link by pressing Return.
- Press Esc in order to go back
- Use the ⌘+⇧+R shortcut to open the Apple TV remote control simulator. Hold the Option key on your Mac keyboard while moving the mouse cursor over the touch surface of the remote control. Click the touch surface in order to interact with the selected element.
- Use the ⌘+R shortcut in case you want to reload your Apple TV app.
- Use the ⌘+D shortcut to open the Developer menu.
1.4. Ok, now it looks like we are set up and ready for some coding, so let’s open our TVapp project folder with the code editor / IDE of your choice.
Step #2. Writing some code

We will be building a preview gallery for top yearly posts from /r/images subreddit.
2.1. Let’s start from replacing the content of App.js with our starter code that:
- Fetches top subreddit posts of all time
- Sets transformed array of posts to the state
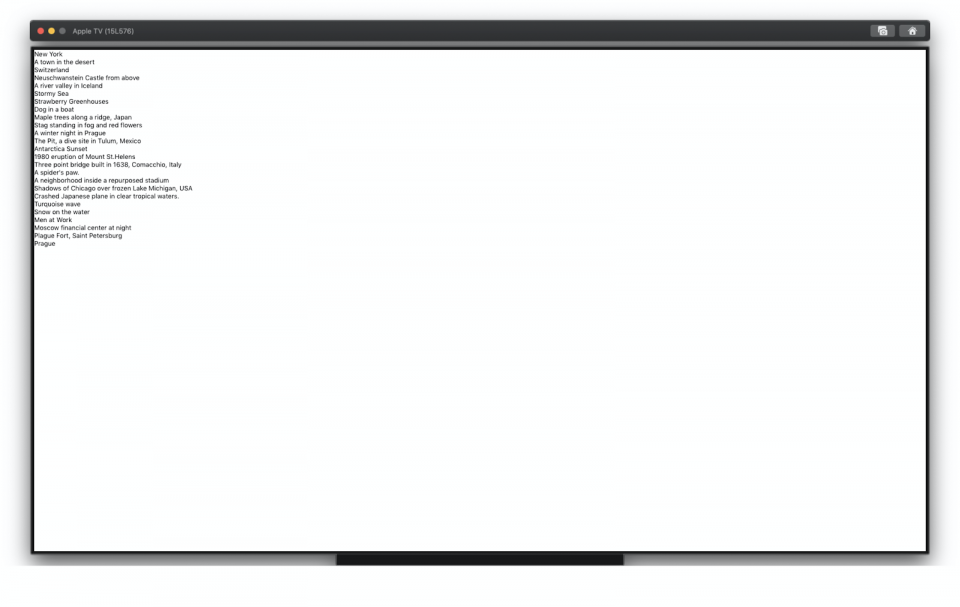
- Displays title of each post as a text string
import React from 'react';
import {View, Text} from 'react-native';

class App extends React.Component {
state = {
  posts: [],
};

componentDidMount() {
  fetch('https://www.reddit.com/r/pic/top.json?t=year)
    .then(response => response.json())
    .then(json => {
      const posts = json.data.children.map(child => child.data);
      this.setState({posts});
    });
}

render() {
  return (
    <View>
      {this.state.posts.map(post => (
        <Text key={post.id}>{post.title}</Text>
      ))}
    </View>
  );
}
}

export default App;
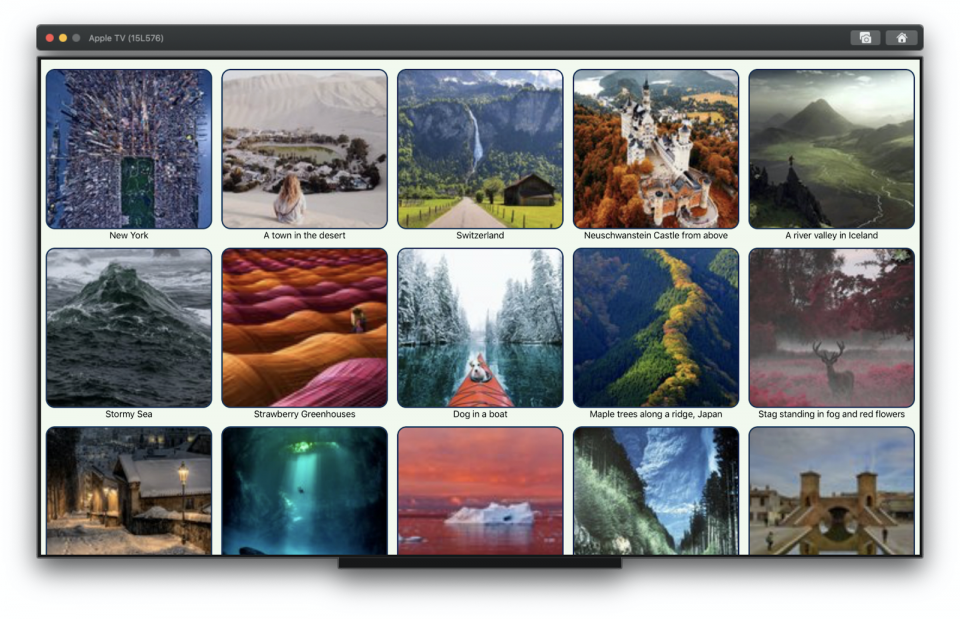
2.2. Now, let’s create post thumbnails and add some styles:
import {
ImageBackground
StyleSheet,
Text,
View,
} from 'react-native';
...
render() {
return (
  <View style={styles.container}>
    {this.state.posts.map(post => (
      <View style={styles.tile} key={post.id}>
        <ImageBackground
          style={{ width: '100%', height: '100%' }}
          source={{ uri: post.thumbnail }}
          imageStyle={styles.background}
        />
        <Text style={styles.title}>{post.title}</Text>
      </View>
    ))}
  </View>
);
}
…
const styles = StyleSheet.create({
container: {
  backgroundColor: '#f1faee',
  flexDirection: 'row',
  flexWrap: 'wrap',
},
tile: {
  flexBasis: '20%',
  height: 370,
  marginTop: 10,
  marginBottom: 20,
  padding: 10,
},
background: {
  borderColor: '#1d3557',
  borderRadius: 20,
},
title: {
  fontSize: 20,
  textAlign: 'center',
},
});
2.3. Now our App is starting to look much better. But there is a problem: the bottom row is cropped by the edge of the screen. In order to solve this issue, we need to make our gallery scrollable. For this, we need 2 things:
- Turn the container into a scrollable element. Let’s use <ScrollView />.
- Make our post tiles selectable. We wrap our tiles into <TouchableHighlight />.
So let’s import both components from 'react-native' and make needed modifications:
// Pay attention that ScrollView is using contentContainerStyle instead of style<ScrollView contentContainerStyle={styles.container}>
{this.state.posts.map(post => (
  <View style={styles.tile} key={post.id}>
    <TouchableHighlight
      style={{borderRadius: 20, padding: 6}}
      underlayColor='#a8dadc'
    >
      <ImageBackground
        style={{ width: '100%', height: '100%' }}
        source={{ uri: post.thumbnail }}
        imageStyle={styles.background}
      />
    </TouchableHighlight>
    <Text style={styles.title}>{post.title}</Text>
  </View>
))}
</ScrollView>
2.4. OK, cool! Now our gallery is scrollable, and we can select each tile individually. Next, let’s do one final thing: we want to show a full-size image when the user interacts with a selected tile. Let's add the <Modal /> component for this purpose.
<ScrollView contentContainerStyle={styles.container}>
{this.state.posts.map(post => (
  <View style={styles.tile} key={post.id}>
    <TouchableHighlight
      style={styles.highlight}
      underlayColor='#a8dadc'
      // We use onPress to open Modal and to set selected image url to state
      onPress={() => this.setState({ modalVisible: true, selectedImage: post.url })}
    >
      <ImageBackground
        style={{ width: '100%', height: '100%' }}
        source={{ uri: post.thumbnail }}
        imageStyle={styles.background}
      />
    </TouchableHighlight>
    <Text style={styles.title}>{post.title}</Text>
  </View>
))}
<Modal
  animationType={'fade'}
  transparent={true}
  visible={this.state.modalVisible}
  onRequestClose={() => this.setState({ modalVisible: false })}
>
  {/*there is a bug in react native tv os: modal will not close properly, unless you wrap it's content into TouchableHighlight */}
  <TouchableHighlight activeOpacity={1} onPress={() => this.setState({ modalVisible: false })}>
    <Image
      source={{ uri: this.state.selectedImage }}
      style={{ width: '100%', height: '100%' }}
    />
  </TouchableHighlight>
</Modal>
</ScrollView>
Key takeaways:
- We learned to set up React Native TVos development.
- We made a small TV demo app with real data.
- We got acquainted with different react-native elements and made some of them interactive. We ran into a bug with closing modal and found a workaround. In the end, we have a little nice Apple TV app.


