SwiftUI, a promising cross-platform UI framework for Swift app development. It was announced to the public at the Apple Worldwide Developers Conference (WWDC) in June 2019. SwiftUI is a completely new framework that allows mobile developers to design and develop user interfaces with less code while increasing the speed of compiling the interface itself through the use of ready-made elements and quick build-flows.
Simple and fast UI framework
The very first things to mention about the SwiftUI framework are simplicity and speed of development.
SwiftUI is based on program code and its declarative syntax and semantics are very straightforward for writing and troubleshooting the code. Developers spend less time on programming interfaces and UI behaviours using SwiftUI in Xcode - even faster than using Storyboards.
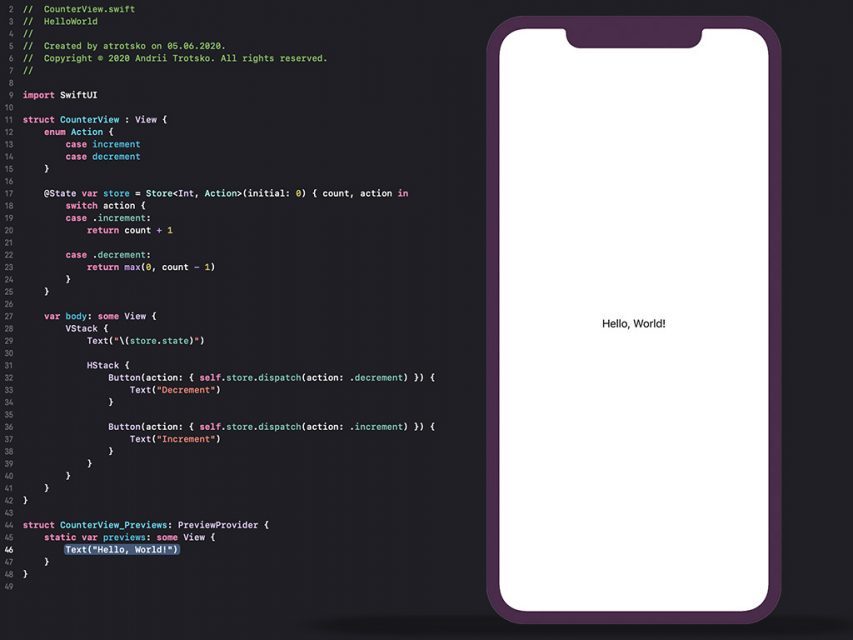
When creating an app interface in SwiftUI, the developer can see an automatic preview inside Xcode that displays the results formatted for the currently-selected device. Another Xcode mode, Debug Preview, helps quickly find code errors and bugs. In contrast, Storyboards are used with the well-known UIKit and the main elements are moved to the editor and arranged by constraints.
SwiftUI allows you to create applications of the same complexity (compared to UIKit-based apps) with much less code thanks to using Swift, an open, intuitive programming language created by Apple.
The SwiftUI framework allows the application to automatically use features such as Dynamic Type, Dark Mode, Localization, and Accessibility. In addition, it is available on all platforms, including macOS, iOS, iPadOS, watchOS, and tvOS. User interface code written using SwiftUI can be synchronized on all platforms, which gives more time to focus on a secondary, platform-specific code.
However, the great advantages of using SwiftUI are not only universal components, simplified animation creation, and Live Preview. It can be mixed with UIKit using the UIHostingController. This capability will allow native developers to implement any components or controllers without any difficulties - simply transfer needed components from another project, for example.
SwiftUI themes and views
SwiftUI makes it easy to manage app themes. Developers can easily add Dark Mode to their applications and set it as the default theme, so that users can easily turn on Dark mode.
SwiftUI provides mechanisms for reactive programming using BindableObject, ObjectBinding, and the entire Combine infrastructure, which is gaining popularity.
Some developers do not consider AutoLayout as an advantage. But AutoLayout has its own problems that infuriate developers, and eradicating it is not a disadvantage in this context.
Instead, SwiftUI uses views like HStack, VStack, ZStack, Groups, Lists, and others. Unlike AutoLayout, SwiftUI always creates a valid layout. There is no such thing as an ambiguous or unsatisfactory layout. SwiftUI replaces storyboards with code, making it easy to create reusable views and avoiding conflicts associated with the simultaneous use of one project by a team of developers.
SwiftUI flow
If you look at the SwiftUI flow, one of the first features comes with Info.plist.
Functionality that used to be performed exclusively by AppDelegate is now performed by SceneDelegate.
The app now can have one scene or more, and the scene serves as a foreground for the app’s user interfaces and content. SceneDelegate includes lifecycle events such as active, resign, and disconnect. The AppDelegate class now contains two new functions, called application(_:configurationForConnecting:options:) and application(_:didDiscardSceneSessions:). The Info.plist property list gets an Application Scene Manifest, which has to contain the enumeration of scenes, their classes, delegates, and storyboards names.

SwiftUI protocols and methods
First off, it is LoginView that accepts the View protocol. Also, there are no viewDidLoad or viewDidAppear methods in SwiftUI. The basis of the screens is not the UIViewController, but the View.
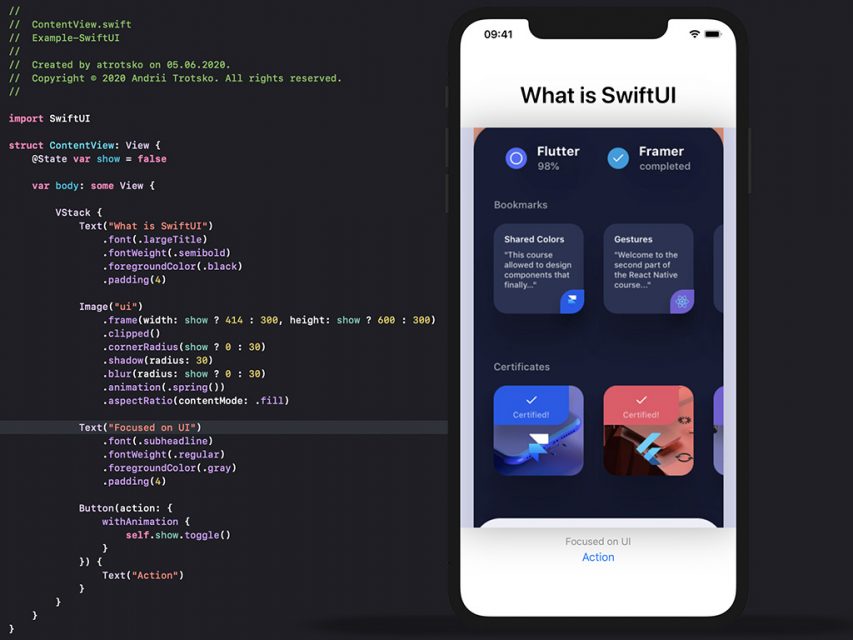
To make code work, you just need to describe the body variable, to which you should return the View. The body is your container to which you add all other subviews. In the body, you have to return only one element, such as Text, Image, Button, etc. — anything that supports the View protocol.
You write each View from a new line and add function modifiers after the period. You can create a whole chain of modifiers after declaring the View.
In SwiftUI, there are convenient alterations of StackView: VStack (elements arranged vertically), HStack (elements arranged horizontally), and ZStack (elements arranged on top of each other).
Naturally, basic things like UIScrollView and UITableView are also available, but now they’re called ScrollView and ListView.
You can embed one container into another as many times as you need because SwiftUI is optimized for this purpose. And embedding does not affect performance. Here’s an example:
import SwiftUI
struct TextFieldBottomLine: View {
    @State var titleText: String   = ""
    private var placeholderText   = ""
    private let lineThickness = CGFloat(1.0)

    init(placeholderText: String) {
        self.placeholderText = placeholderText
    }

    var body: some View {
        VStack {
            TextField(placeholderText, text: $text)
            HorizontalLine(color: .blue)
        }
        .padding(.bottom, lineThickness)
    }
}

// MARK: - Preview
struct TextFieldBottomLinePreviews: PreviewProvider {
    static var previews: some View {
        TextFieldBottomLine(placeholderText: "")
    }}
The whole layout is built in VStack. The content of the stack is embedded in ScrollView, where elements are located line by line.
Spacer is another convenient feature that automatically calculates the necessary additional space and adds it.
TextFieldBottomLine is a subclass of TextField. Since the design required a TextField with a separator line at the bottom, we created a subclass and redefined the SwiftUI TextField. HorizontalLine is a separate view for line drawing.
import SwiftUI
struct HorizontalLine: View {
    private var color: Color?   = nil
    private var height: CGFloat = 1.0
    init(color: Color, height: CGFloat = 1.0) {
        self.color  = color
        self.height = height
    }

    var body: some View {
    HorizontalLineShape().fill(self.color!).frame(minWidth: 0, maxWidth: .infinity, minHeight: height, maxHeight: height)
    }
}
HorizontalLineShape is a struct CGPath analog for drawing the form.
import SwiftUI
struct HorizontalLineShape: Shape {
    func path(in rect: CGRect) -> Path {
        let fill = CGRect(x: 0, y: 0, width: rect.size.width, height: rect.size.height)
        var path = Path()
        path.addRoundedRect(in: fill, cornerSize: CGSize(width: 2, height: 2))
        return path
    }
}
Conclusion
To summarize, chas a completely different approach than UIKit for writing code. But the fact remains: SwiftUI is clear, easy to read, and easy to use.
Even if you still support UIKit, you can safely add functionality from SwiftUI to your UIKit projects — without any problem. SwiftUI is going to be the main framework to code and evolve Apple apps, and all future updates will already be associated with this framework, not with UIStoryboard. It’s essential to switch to SwiftUI as soon as possible and gradually introduce this framework into existing projects and start new ones already with its use.


