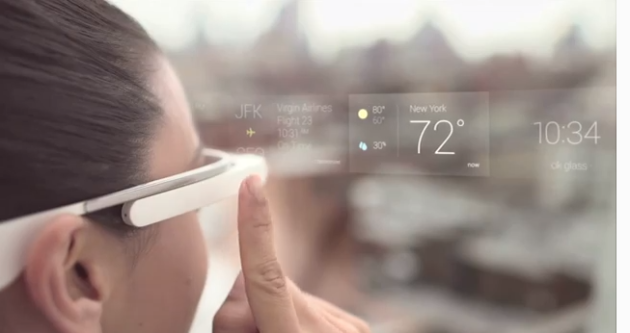
There's no rocket science when it comes to Google Glass OS - it's Android 4 with a special Glass enabled launcher that lets you easily install any Android apps on the gadget via adb. Until recently Mirror API has been the only tool developers could use to build Glassware, i.e. web services that can send content to and receive content from Glass. However, Google finally took pity on app developers and released Glass Development Kit (GDK), an add-on to the Android SDK that lets you build apps that would run directly on Glass (i.e. native apps). In this post I want to share with you how to develop a fully featured native Glass app using GDK that is not yet fully official and is subject to changes and additions.
Read more about mobile app development services.
Get a Google Glass!

Can’t afford to pay $1,500 for your Glass Explorer edition? Well, you may try this trick to get your non-wearable alternative: just take any Android smartphone or tablet and install a Glass Launcher and some APKs from here. Now you have an interface almost identical to that of Google Glass, with timeline cards, Bluetooth, voice recognizer, and Hangouts to boot. At first launch, the launcher will request access to your Google account just like any regular app. Grant rights and become an almost real Glass explorer!
However, it’s highly recommended that you use the authentic Glass to code more effectively. Note that Glass is quite a unique gadget that requires no switch between the actual and virtual worlds. A developer with no Google Glass on hand will most probably not be able to create an unobtrusive and fully functional app, as no guidelines can replace the first hand user experience.
Create a static app
The main paradigm of the Google Glass interface is Timeline. On the right of the home screen (where time and voice input features are located) you can see an endless stream of cards that all apps using Mirror API publish in a chronological order. As a developer, you can attach objects to a timeline card such as media or geo-location. User gets this information via menu elements attached to a card. Each card may contain both predetermined menu elements such as “Delete” or “Share” and elements determined by the app. Each card may also contain several embedded cards. As these “packages” have a very primitive hierarchy, they don’t allow creating any multi-level structures. So, you need to assign the same bundleID to the whole cards series, and assign isBundleCover=true to a card that is meant to be your app's “cover”.
The cards may also be located on the left of the home screen. These are static cards. You can try to add such a card via Mirror API by assigning isPinned=true, but you’ll most likely fail to do so. Mirror API will dump your card to the general stream anyway. Yet, there’s a solution to it: add TOGGLE_PINNED action to the menu options and users will pin your card by themselves if they want to. Updating a card won’t have any impact on its state – it’ll remain static until you delete it or user unpins it with the same menu option.
There’re many nuances to consider when designing Timeline cards, so you better experiment with Mirror API using APIs Explorer, and with cards design using playground first.
What you need to remember and accept is that you will NEVER be able to create an interactive app with Mirror API. You can show something to the user, but it'll remain unpredictable when Google delivers live broadcasts to them. And vice versa – the user can do something in your app's interface, but you can never be sure when Google delivers this information to you.
Yet, there’s a way to build an interactive app for Google Glass.
Turn your Glass app from static into interactive
That’s when GDK is going to be of great help. Of course, you can use regular Android SDK, but don’t forget about rather peculiar user input properties in Glass. There’re neither buttons, nor touch inputs. Only gestures to tap and swipe the device. You can’t capture OnTouch, nor can you capture a long press. Downwards gesture is reserved and captured as onBackPressed. Only sensors can help: head nods and turns are a great replacement to buttons.
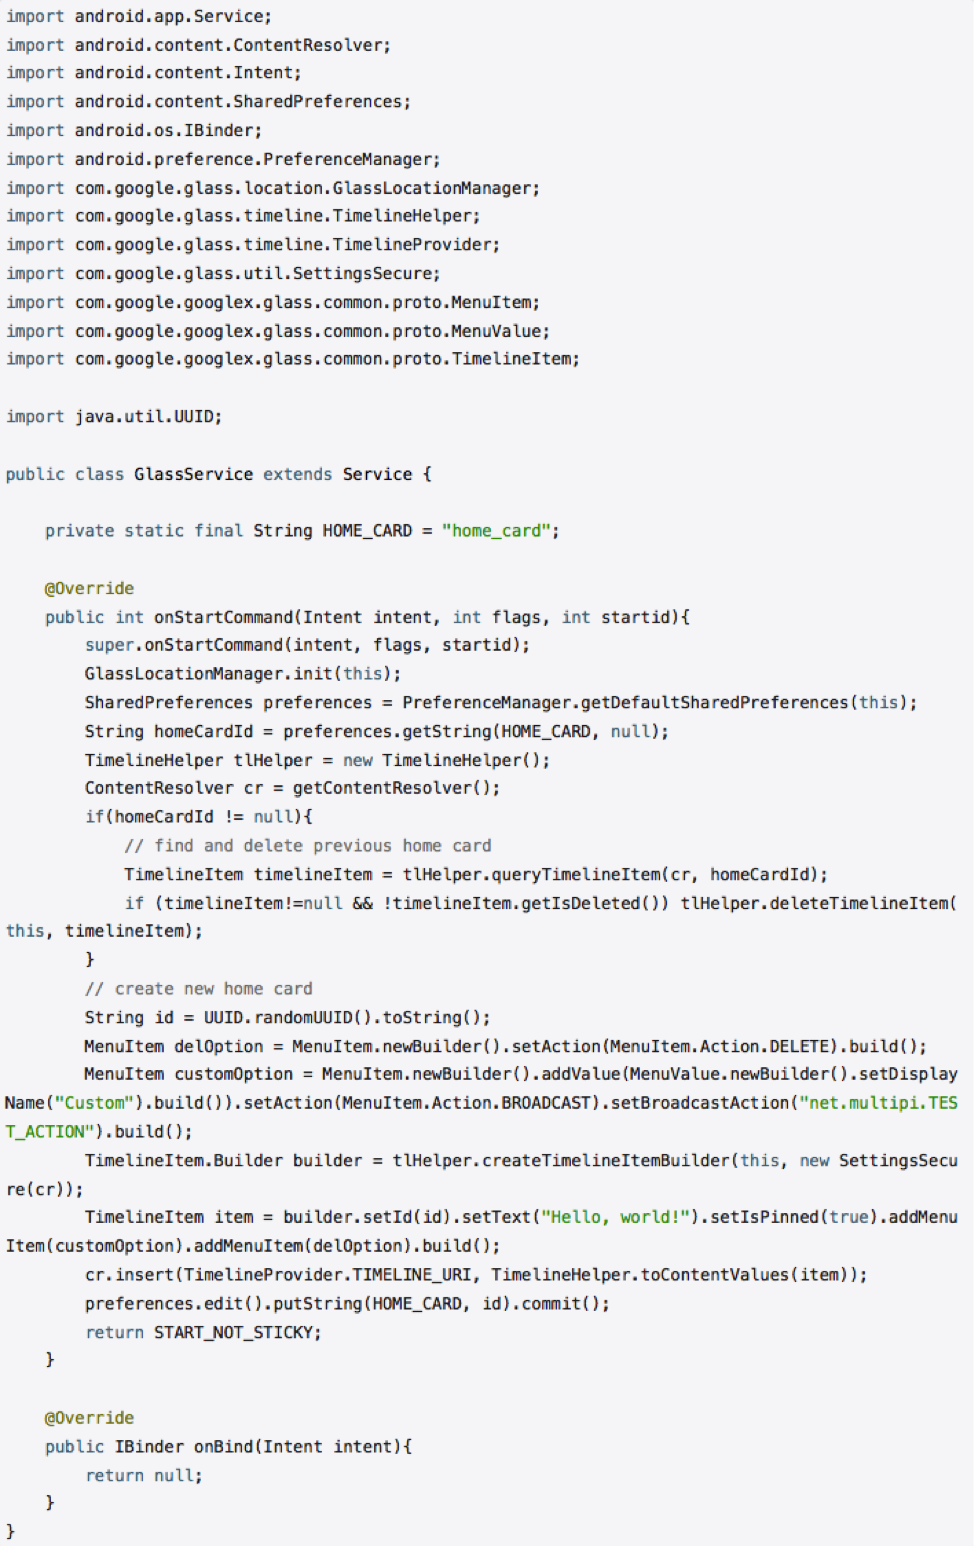
Now get any native Google Glass app, just like this one. Retrieve glasslib.jar and add it to your project. Now you can manipulate with timeline cards the same way as you did via Mirror API. Yet, there’re two significant advantages: there're no delays and no restrictions. If you assign isPinned(true) to your card now, it’ll get located on the left of the home screen without any user involvement. Now let’s work with Timeline via TimlineHelper. Normally, the scheme is as follows: app has just one Activity that starts Service at launch and stops it right away. In Service you check whether the user has your app’s card (for this purpose it’s better to store its ID in SharedPreferences), delete an old one, add a new one and save its ID once again.
Now your card has a two-option menu: Delete and Custom. While the system processes the first by removing the card, the latter will send you live broadcasts that you can capture and process on your own. See a sample currency viewer app project developed at the Glass Hack UA hackathon few months back.
Translated into English from habrahabr.ru
Looking to tap into Google Glass apps development opportunities? Contact us for more details!
